Mold in your HVAC system can spread quickly through your home every time you turn on your air conditioning or heating. Many homeowners don't realize that dark, damp ductwork creates the perfect environment for mold growth. We'll show you the key warning signs to watch for and explain what happens during a professional HVAC mold inspection so you can protect your family's health.
When we suspect mold in our vents, we need to act fast. Common signs include musty odors when the system runs, visible dark spots around vents, and unexplained respiratory issues in family members. Professional inspectors use special tools and techniques to find mold that we can't see with our eyes alone.
The U.S. EPA advises that known or suspected mold growth in HVAC ducts should be investigated and resolved promptly to prevent further contamination and protect indoor air quality.
We'll walk you through the entire inspection process and what to expect if mold is discovered in your ducts.
Let’s break down the key points you should consider:
- Signs you might have mold in your HVAC system
- What's involved in a professional HVAC mold inspection
- What to do if mold is found in your ducts
- Choosing a mold inspection provider in Houston
You'll also learn how to choose the right mold inspection company to get accurate results and peace of mind about your home's air quality.
Signs you might have mold in your HVAC system
Several warning signs can alert you to mold growth in your heating and cooling system. These include strange odors from vents, visible mold growth around air registers, worsening allergy symptoms, and moisture buildup near your unit.
Musty smells coming from vents
A musty or earthy smell coming from your vents is often the first sign of mold in your HVAC system. This odor becomes stronger when you turn on your heating or air conditioning.
The smell may not be present in all rooms at once. It often appears in certain areas first, especially rooms with poor ventilation.
When to be concerned:
- The smell gets worse when the system runs
- The odor persists even after changing air filters
- You notice the smell in multiple rooms
If you detect these odors, we recommend having air duct mold testing done by a professional. They can determine if mold is present and where it's located in your system.
Visible mold near ducts or registers
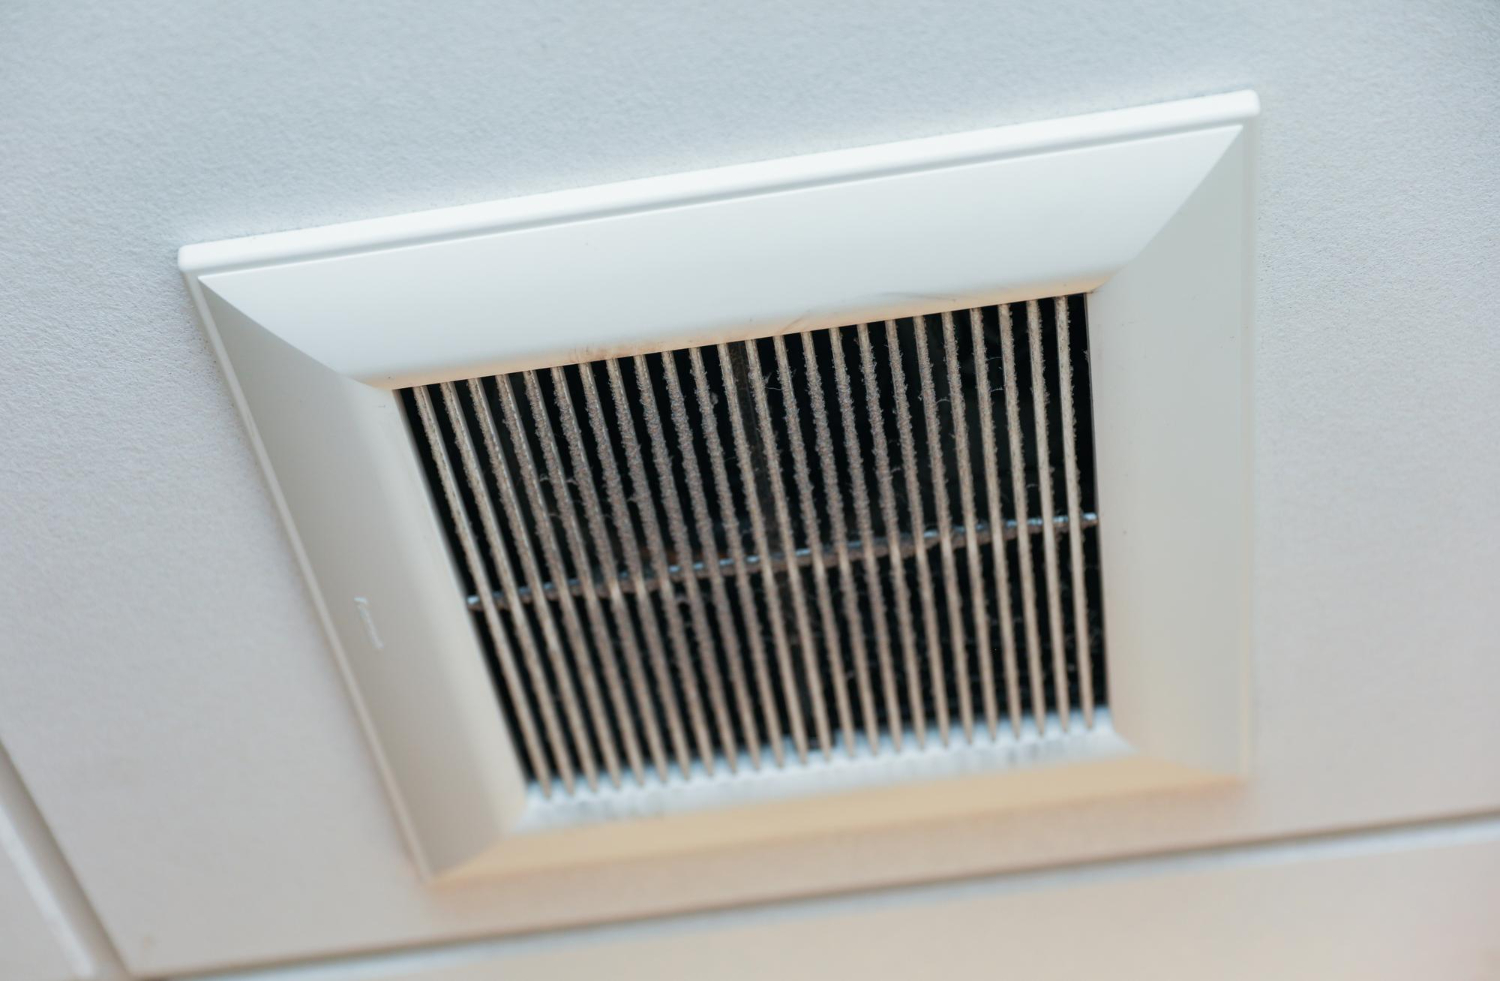
Mold growth around air vents and registers is a clear warning sign. You might see dark spots, fuzzy patches, or discoloration around these areas.
Check the area around your air conditioning unit and ductwork. Look for black, green, or white growth on surfaces near ducts.
Common locations for visible mold:
- Around air vents and registers
- On ductwork in basements or crawl spaces
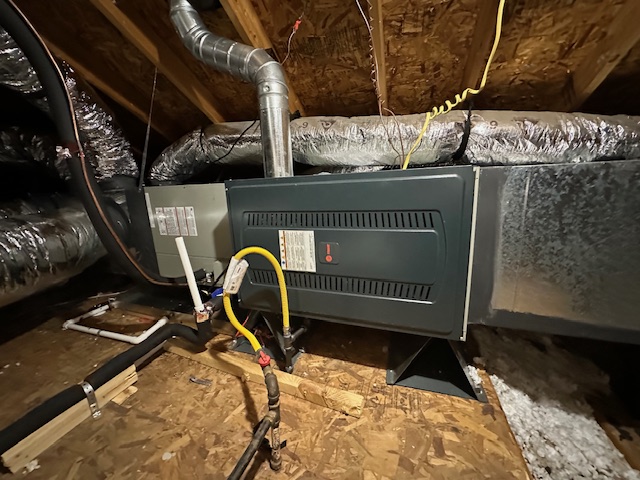
- Near the air handler unit
- Around return air grilles
Don't ignore small spots of mold. Even small amounts can spread quickly through your ducts when the system runs.
Allergy symptoms or respiratory issues indoors
Mold in your HVAC system can make allergy and asthma symptoms worse. You might notice these problems get worse when you're inside your home.
Common symptoms include:
- Sneezing and runny nose
- Watery or itchy eyes
- Coughing or throat irritation
- Breathing difficulties
- Headaches
These symptoms often improve when you leave your home. They may get worse when you first turn on your heating or cooling system.
People with asthma or weak immune systems are more likely to have severe reactions. If multiple family members develop similar symptoms, mold in your HVAC system could be the cause.
Excess humidity or condensation around the unit
High humidity levels and condensation create perfect conditions for mold growth. We often see mold problems in homes with poor moisture control.
Signs of moisture problems:
- Water droplets on ducts or vents
- Rust or corrosion on metal components
- Wet insulation around ductwork
- Indoor humidity levels above 60%
Your air conditioning system should remove moisture from the air. If you notice condensation building up around your unit or on ducts, this moisture can lead to mold growth.
Check for standing water around your HVAC unit. Clogged drain lines or damaged drain pans can cause water to collect, creating ideal conditions for mold.
What's involved in a professional HVAC mold inspection
Professional HVAC mold testing uses specialized equipment and testing methods to check for contamination in your air ducts and ventilation system. The process involves visual inspection, air sampling, and surface testing to identify both visible and hidden mold growth.
How HVAC mold testing is performed
We start by turning off your HVAC system to prevent spores from spreading during the inspection. Our technicians remove vent covers and access panels to examine the interior of your ductwork.
We use bright LED lights and cameras to look inside air ducts. This helps us spot visible mold growth on duct surfaces. We also check for moisture problems that could lead to mold.
Air sampling is a key part of the process. We collect air samples from inside the ducts and compare them to outdoor air. This tells us if mold spore levels are higher inside your system.
We take surface samples by swabbing areas that look suspicious. These samples go to a lab for testing. The lab identifies the type of mold and how much is present.
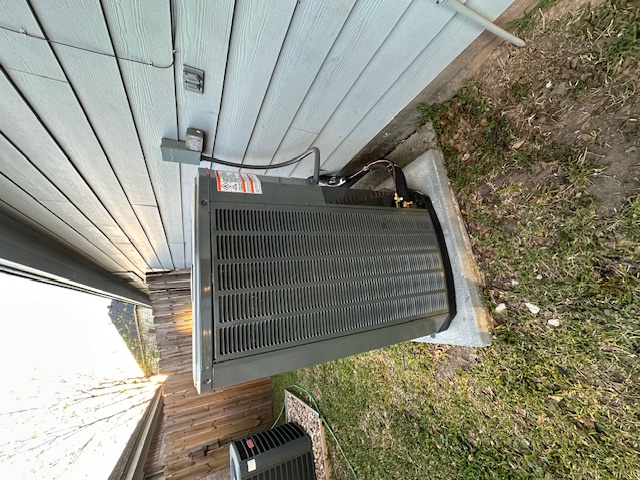
We also check the HVAC unit itself. This includes the evaporator coils, drain pans, and air handler. These areas often have moisture that can cause mold growth.
Tools used for air duct mold testing
Our inspection team uses specific tools to find mold contamination in your HVAC system. Each tool serves a different purpose in the testing process.
Inspection cameras let us see deep inside your ductwork. These cameras have lights and can bend around corners. We can record what we find for later review.
Air sampling pumps collect air from your ducts. These pumps pull air through special filters that trap mold spores. We use calibrated pumps to get accurate samples.
Moisture meters help us find wet areas where mold might grow. These tools can detect moisture inside walls and ductwork without cutting holes.
Swab kits collect surface samples from suspected mold areas. We use sterile swabs to avoid contaminating the samples.
Particle counters measure the number of particles in your air. High particle counts can indicate mold problems.
Differences between surface mold and hidden contamination
Surface mold is easier to find because we can see it during our visual inspection. This type of mold grows on the inside walls of ducts and vents. It often appears as dark spots or fuzzy patches.
Hidden contamination is harder to detect. This mold grows inside insulation, behind duct walls, or in areas we cannot see directly. We need special testing methods to find it.
Surface testing involves taking samples from visible mold growth. We scrape or swab the affected areas. This tells us what type of mold is growing and how severe the problem is.
Hidden mold detection requires air sampling and moisture testing. We look for high spore counts in the air and wet conditions that support mold growth.
Hidden contamination is often more serious. It can spread throughout your system without you knowing. Surface mold is usually easier to clean and treat.
How long a full inspection typically takes
A complete HVAC mold inspection takes 2 to 4 hours for most homes. The exact time depends on the size of your system and how much contamination we find.
Small homes with simple duct systems usually take 2 hours to inspect. We can check all the vents and ducts quickly.
Large homes with complex HVAC systems may take 4 hours or more. Multiple air handlers and long duct runs require more time to inspect properly.
We spend about 30 minutes setting up our equipment. The actual inspection takes 1 to 3 hours. We need another 30 minutes to collect samples and pack up.
Lab results take 2 to 5 business days after we finish the inspection. We send you a detailed report with our findings and recommendations.
If we find serious contamination, we may need to return for additional testing. This helps us make sure we have found all the problem areas.
What to do if mold is found in your ducts
Finding mold in your ducts requires immediate action to protect your health and home. We recommend professional cleaning for contaminated components, followed by proper maintenance to prevent future growth.
Cleaning mold out of HVAC components
Professional cleaning is the safest way to remove mold from your HVAC system. We don't recommend trying to clean mold yourself because it can spread spores throughout your home.
Key components that need cleaning:
- Air ducts and vents
- Coils and drain pans
- Blower units
- Air filters
Professional cleaners use special equipment like HEPA vacuums and antimicrobial solutions. They seal off work areas to prevent contamination.
The cleaning process takes 4-8 hours depending on system size. Workers wear protective gear and follow EPA guidelines.
What professionals remove:
- Visible mold growth
- Contaminated insulation
- Damaged ductwork sections
- Clogged drain lines
We always recommend getting quotes from at least three certified mold remediation companies. Make sure they have proper licensing and insurance.
When air duct mold testing should be followed by cleaning
Not all mold findings require immediate cleaning. We recommend cleaning when tests show specific conditions.
Clean immediately if:
- Mold covers more than 10 square feet
- Black or toxic mold is present
- Multiple vents show contamination
- Family members have respiratory symptoms
Surface sampling that shows high spore counts needs professional attention. Air sampling results above 1,000 spores per cubic meter also require cleaning.
Consider cleaning if:
- Musty odors persist after filter changes
- Visible growth appears on vents
- Moisture problems exist in ducts
- Previous water damage occurred
We suggest retesting after cleaning to confirm removal. Wait 24-48 hours after cleaning before running tests.
Some minor surface mold on accessible vents can be cleaned with bleach solutions. Always wear masks and gloves during any cleaning.
Understanding your options for mold remediation
Mold remediation involves several approaches depending on contamination severity. We outline the main options below.
Cleaning and disinfection works for light surface mold. This costs $500-$2,000 for most homes. The process includes scrubbing, HEPA vacuuming, and antimicrobial treatment.
Partial duct replacement is needed when mold penetrates porous materials. Costs range from $2,000-$5,000. Workers remove contaminated sections and install new ductwork.
Complete system replacement becomes necessary with extensive contamination. This costs $5,000-$15,000 but ensures total mold removal.
Treatment options include:
- Dry ice blasting
- Ozone treatment
- UV light installation
- Duct sealing
We recommend getting detailed written estimates. Compare methods, timelines, and warranties from different contractors.
Insurance may cover remediation if water damage caused the mold. Check your policy before starting work.
The role of HVAC maintenance in long-term mold prevention
Regular HVAC maintenance prevents mold from returning after remediation. We recommend creating a maintenance schedule to protect your investment.
Monthly tasks:
- Change air filters
- Check drain pans
- Inspect visible ducts
- Monitor humidity levels
Quarterly maintenance:
- Clean vents and registers
- Check insulation condition
- Test system airflow
- Inspect outdoor units
Professional maintenance twice yearly catches problems early. Technicians clean coils, check drainage, and seal duct leaks.
Key prevention strategies:
- Keep humidity below 50%
- Fix leaks immediately
- Use high-quality filters
- Ensure proper ventilation
We suggest installing humidity monitors in basements and attics. These areas often develop moisture problems first.
UV lights in ducts kill mold spores before they spread. This upgrade costs $400-$800 but provides ongoing protection.
Document all maintenance with photos and receipts. This helps track system condition and supports warranty claims.
Choosing a mold inspection provider in Houston
Finding the right mold inspection provider in Houston requires asking specific questions about their process and understanding how proper maintenance prevents future problems. Costs vary based on your system size, and different companies use different inspection methods.
What to ask before booking a mold test for your HVAC
We recommend asking these key questions before hiring any mold inspection company in Houston:
Essential Questions:
- Do you use visual inspection and air sampling?
- Are your technicians certified for mold testing?
- What equipment do you use to check inside ducts?
- Will you provide a written report with photos?
- Do you test both supply and return vents?
Ask about their inspection process. Good companies check your entire HVAC system, not just visible areas.
Find out if they use moisture meters and thermal imaging cameras. These tools help find hidden mold growth behind walls and in ductwork.
Red Flags to Avoid:
- Companies that only do visual checks
- Providers who won't explain their testing methods
- Anyone who guarantees they'll find mold before inspecting
Request references from recent Houston customers. A reliable company will gladly share past client contact information.
Why duct maintenance helps stop mold from returning
Regular duct maintenance prevents the conditions that allow mold to grow in your HVAC system.
Key Maintenance Tasks:
- Change air filters every 1-3 months
- Clean supply and return vents monthly
- Check for duct leaks twice per year
- Schedule professional duct cleaning every 3-5 years
Dirty filters restrict airflow and create moisture buildup. This creates perfect conditions for mold growth in your ducts. According to the U.S. EPA, homeowners should consider air duct cleaning if there is substantial visible mold growth inside hard surface ducts or on other components of the HVAC system.
Duct leaks let humid Houston air enter your system. We seal these leaks to keep moisture out and improve air quality.
Professional cleaning removes dust, debris, and organic material that mold feeds on. Clean ducts stay mold-free longer than dirty ones.
Preventive Measures:
- Install UV lights in your HVAC system
- Use dehumidifiers to control indoor humidity
- Ensure proper attic ventilation
- Fix roof leaks quickly
Average cost of HVAC mold inspection and cleaning
HVAC mold inspection costs in Houston typically range from $300 to $600 for most homes.
Inspection Cost Factors:
- Home size and duct system complexity
- Number of air samples needed
- Visual inspection vs. comprehensive testing
- Laboratory analysis fees
Typical Price Breakdown:
- Basic visual inspection: $200-$350
- Air sampling (3-5 samples): $100-$200 per sample
- Surface testing: $75-$125 per sample
- Written report: Usually included
Cleaning costs vary widely based on contamination level. Light cleaning runs $500-$1,500. Severe mold problems cost $2,000-$5,000 to remediate.
Additional Costs to Consider:
- Duct sealing: $1,500-$3,000
- Filter replacement: $20-$100
- UV light installation: $500-$1,200
Get quotes from at least three Houston companies. Compare what each inspection includes before choosing based on price alone.
Horizon Air Solutions' approach to duct mold inspections
Horizon Air Solutions uses a comprehensive approach to detect mold in Houston HVAC systems.
We start with a detailed visual inspection of your entire ductwork system. Our technicians check supply vents, return vents, and accessible ductwork using specialized cameras.
Our Inspection Process:
- Visual examination of all accessible ducts
- Air sampling from multiple locations
- Moisture level testing throughout the system
- Thermal imaging to find hidden problems
We take air samples from your supply ducts, return ducts, and indoor air for comparison. This helps us identify mold types and concentration levels.
Our technicians photograph any visible mold growth or moisture damage. These photos become part of your detailed inspection report.
What We Provide:
- Written report within 48 hours
- Photos of any problem areas found
- Recommendations for cleaning or repairs
- Follow-up testing after remediation
We explain our findings in plain language and answer all your questions about the inspection results.
Conclusion
We covered the key signs of mold in your HVAC system. Dark spots, musty smells, and health symptoms are the main warning signs to watch for.
Regular inspections help catch mold early. Check your vents every few months for visible growth or strange odors.
Professional testing gives you accurate results. We recommend hiring experts if you see black or green spots in your ducts.
Prevention works better than cleanup. Keep humidity below 50% and change filters regularly.
Quick action saves money and protects your family's health. Don't wait if you notice warning signs.
Most mold problems can be fixed with proper cleaning and maintenance. Address the moisture source first, then clean the affected areas.
We suggest annual professional inspections for older systems. This helps catch problems before they spread throughout your home.
Trust your senses when checking for mold. If something looks or smells wrong, investigate further or call a professional.
Schedule your HVAC mold inspection today to identify hidden mold early and restore safe, clean air in your home.


